


You may have seen a seamless sliding photo post on Instagram before. A seamless sliding post is when one horizontal image is cut into two vertical images. When the user slides from one photo to the next, they can reveal the full image. This can be a cool feature when creating engaging carousel posts on Instagram.
Here’s an example of a seamless sliding post from my friend and automotive photographer, Ted.
Most of Ted’s Instagram posts include this sliding feature where you get a glimpse of the car in one photo, but you have to scroll to see the complete picture. This captures the audience’s attention and encourages them to scroll through the post to see the full image.
If you want to try your hand at creating seamless sliding photos, I’m here to help! It’s free, easy, and fun! All you need is a horizontal photo, a free Canva account, and a computer.
Note that there are other ways to do this, but this is the method I’ve found that works best for me!
Step 1: Open Canva
The first step is to go to Canva. Once on the site, create a custom-sized document. Remember that the standard vertical Instagram post is 4:5 inches. The height of the post (5 inches) will not change; however, the width will depend on how many times you want to split your image.
If you want to split your photo into two separate images, make the width 8 inches and the height 5 inches. If you’d like to take one photo and split it in three, you’ll make the width 12 inches and the height 5. Basically, you times the post’s width by the number of photos you want to split it into.
Split into two: 8 inches width by 5 inches height
Split into three: 12 inches width by 5 inches height

Note: I do not personally split my photos into 3 separate images but there are use cases for that. For the purpose of this article, I’ll be demonstrating how to split photos into 2.
Step 2: Turn on the Rulers & Position Them
Turning on the grid in Canva will help you see how your photo will be split.
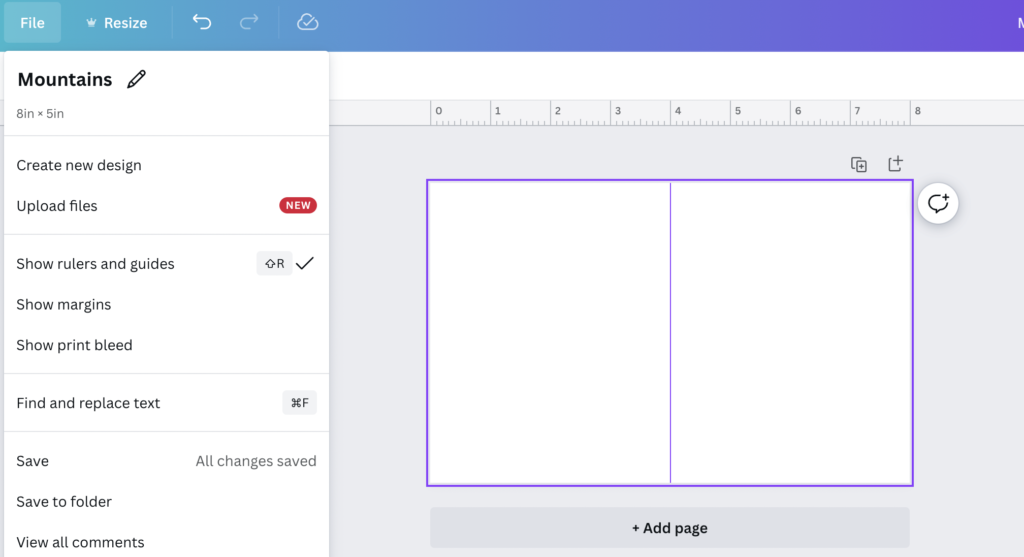
To turn on rulers & guides, click File > Turn on Rulers & Guides. This will bring up a ruler on the top and left side of your design.
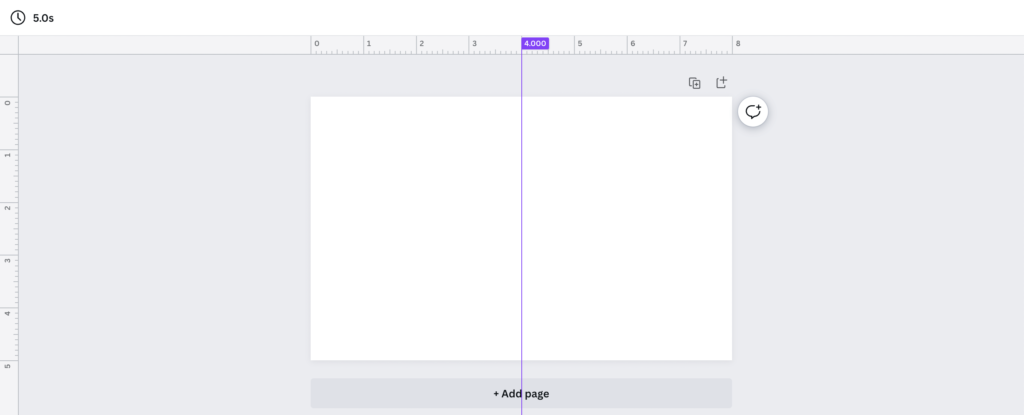
To position the guideline, click and drag from the left side to make a vertical purple line appear. Then, position this line in the middle of your design at precisely 4 inches.
If splitting a photo into 3, you’ll want to put the grid lines on the 4 & 8-inch markers.
Step 3: Upload Your Image and Crop as Necessary
The next step is to upload your image. Photo splitting only works when you use a horizontal photo.
To do so, drag your image into Canva or click Uploads > Upload File. Then, simply drag your photo onto the design and position it so it covers any white space.
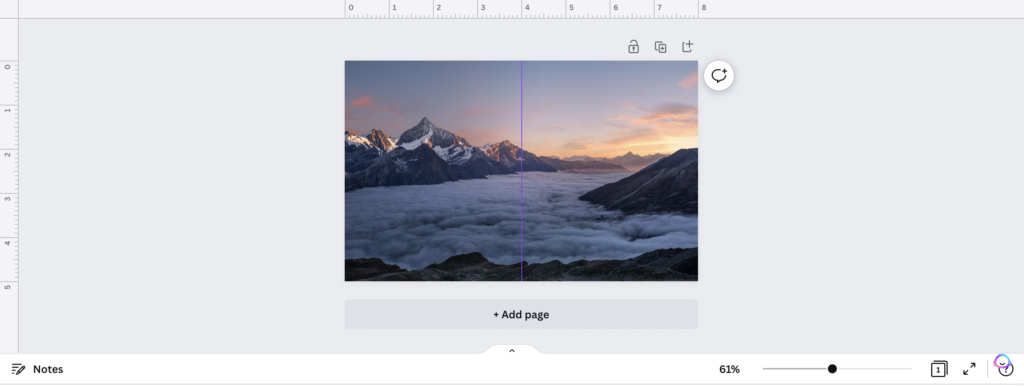
The guideline over the image shows where it will be split.
Step 4: Export your Canva PNG
Once you’re happy with your photo, download it to your device. To do so:
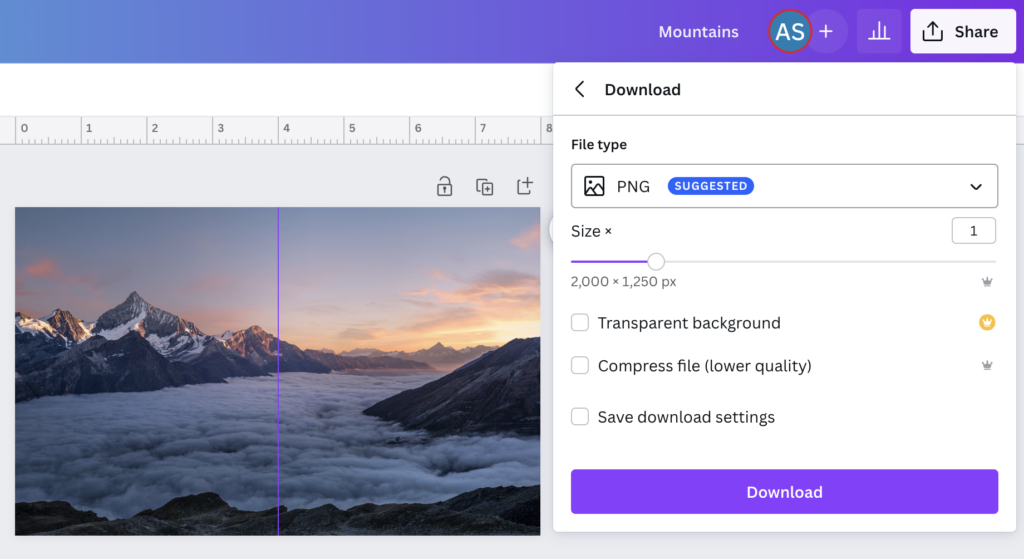
- Click share on the upper right-hand side of the webpage
- Select download
- Choose your file format (I usually go with a PNG for higher quality)
- Download the File to your computer
Step 5: Split Your Image
To split my images, I like to use Pine Tools. Pine Tools makes it easy to upload your photo and split it into two separate images.
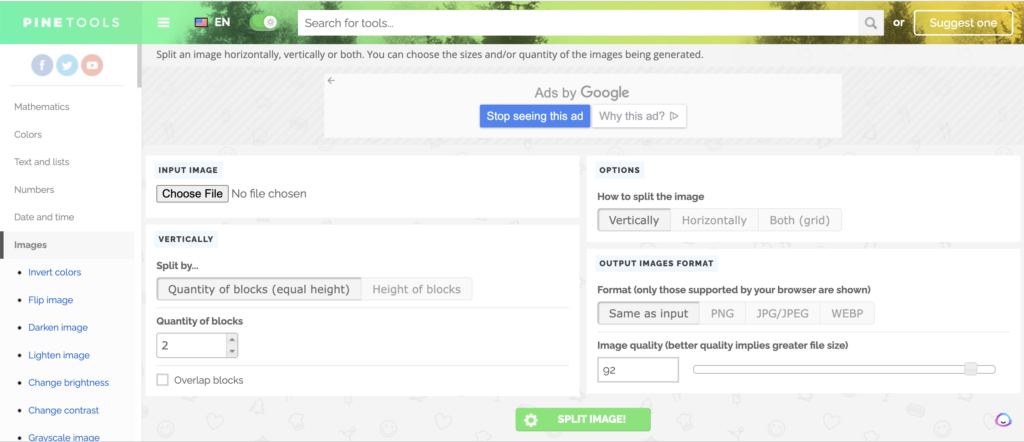
Add your saved Canva design by clicking upload image and selecting your photo from your computer.
On the right-hand side of the webpage, there are a few options. Here are the settings to use:
- Split image horizontally
- Choose the number of blocks (2 or 3, depending on your design)
- Select PNG as your format
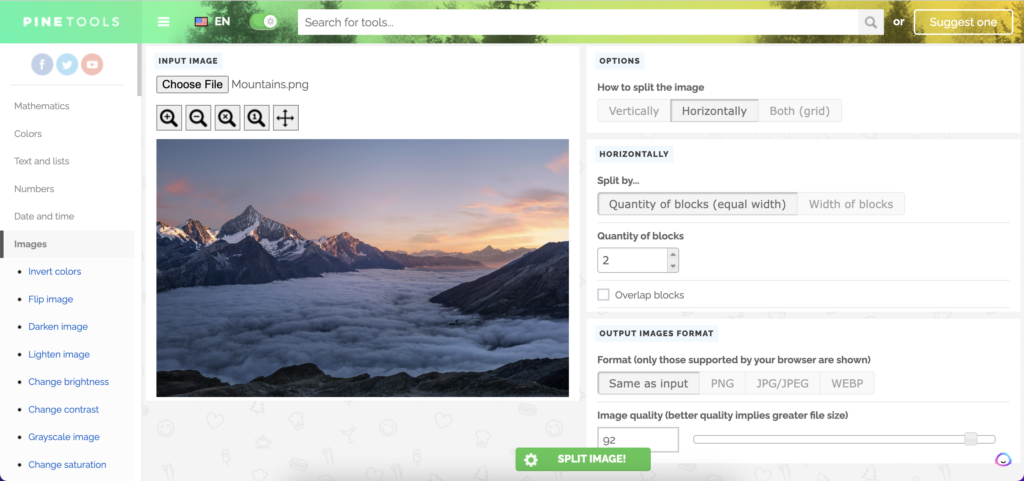
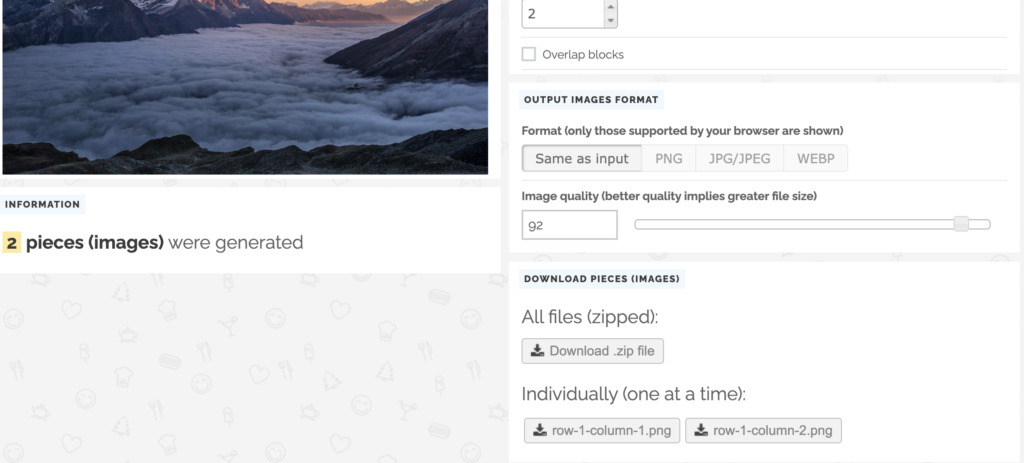
After your settings are correct, click the green “Split Image” button in the bottom middle of the webpage.
Step 6: Download Your Image and Transfer it to Your Phone.
I usually download images from Pine Tools individually rather than in a Zip file.
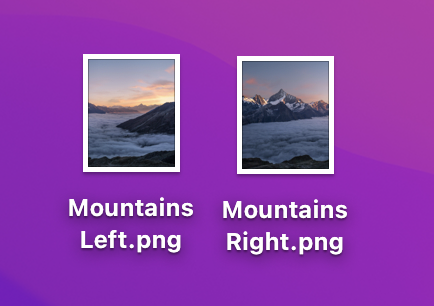
I then drag the images to my desktop, renaming them “___ left” and “___ right,” depending on the content. (Ex. If I split a photo of a Lamborghini, I name the images “Lamborghini Left” and Lamborghini Right”).
After your images are named, it’s time to move them to where you’ll be posting from. If you post from your computer via scheduling, you can upload the content to your scheduler.
When I do sliding carousel posts, I like to upload to Instagram directly from my phone to limit the possibility of error and see what the scroll looks like. I’ve had a few issues with uploading scrolling posts from my computer and scheduling software before, but this is a personal preference.
To transfer to my phone, I usually upload the photos to a Google Drive folder to maintain quality. You could also AirDrop the images to yourself if you’re operating on an Apple computer and iPhone. Or, if you’re using a Windows computer, you could email the photos to yourself.
Step 7: Upload to Instagram!
The final step is to upload your sliding carousel post to Instagram! To do so, select the images from your camera roll. Remember to post them in the proper order, so they are aligned correctly when you upload them.
Next, add a good caption and hashtags, and you’re good to go!
Happy posting!